http://www.woodiesaircraftfactory.co.uk> Flaperons
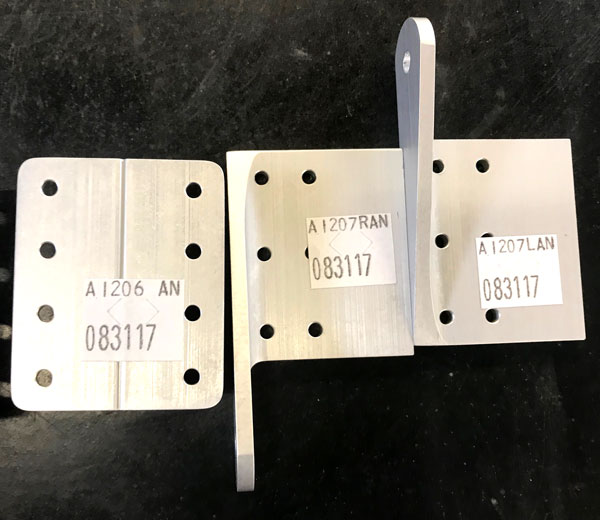
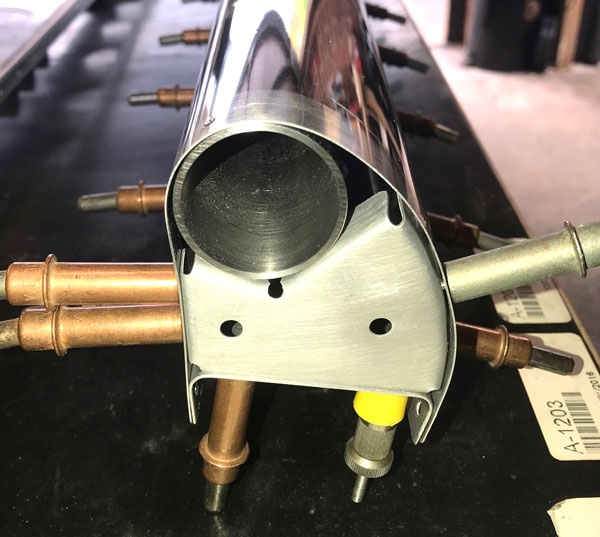
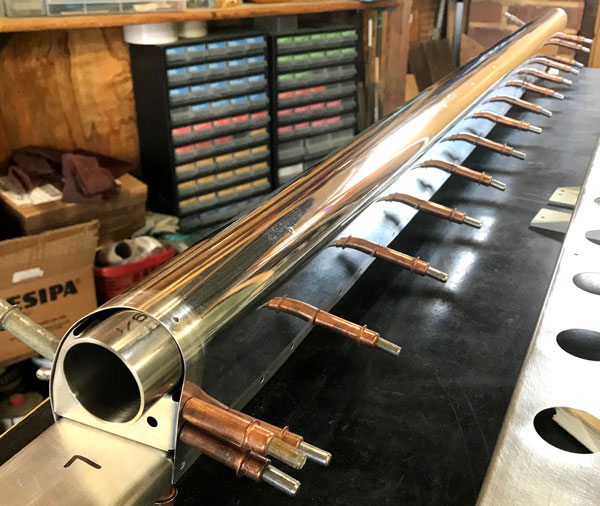
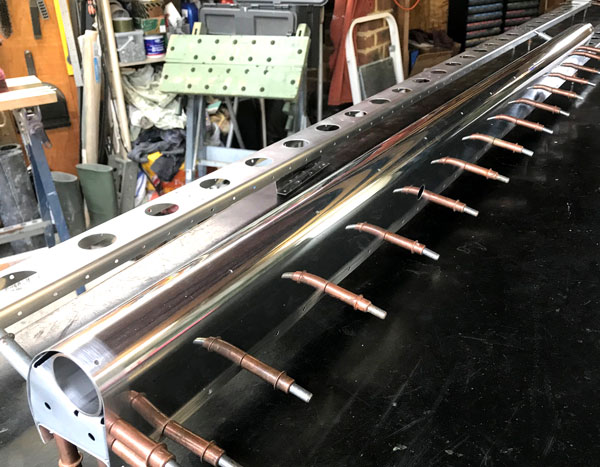
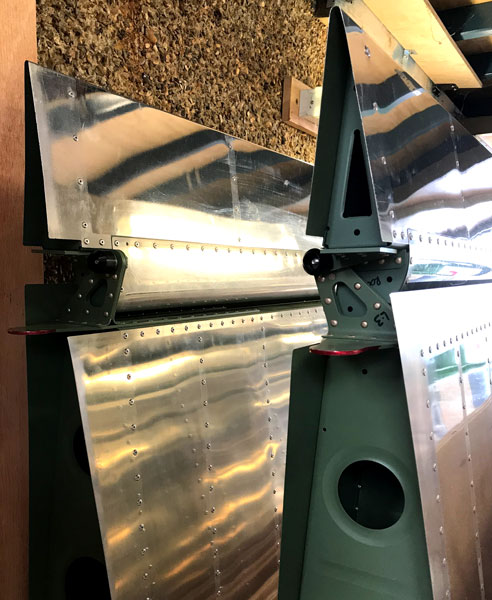
Construction of the Flaperons.
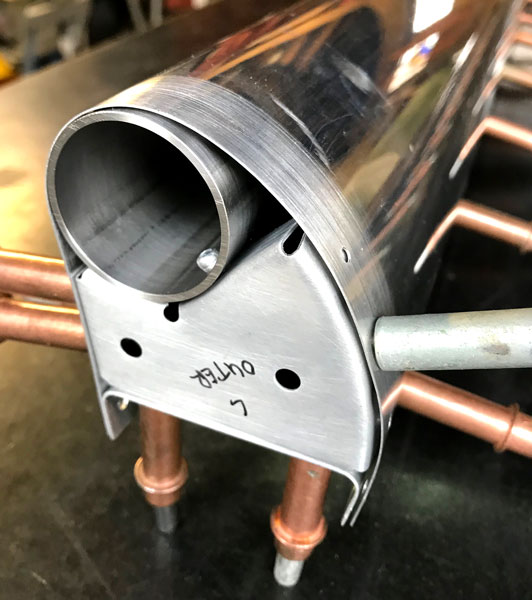
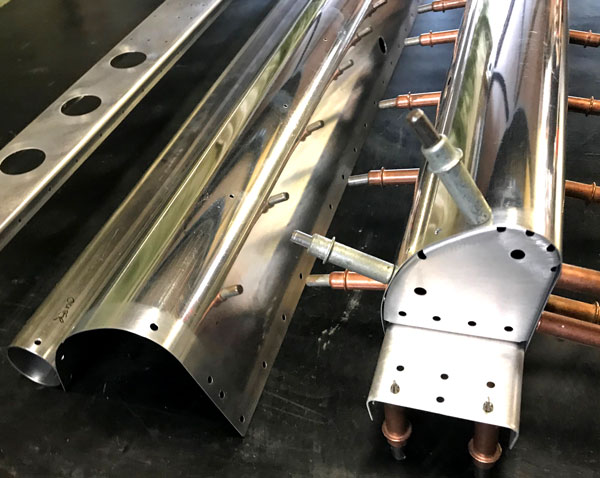
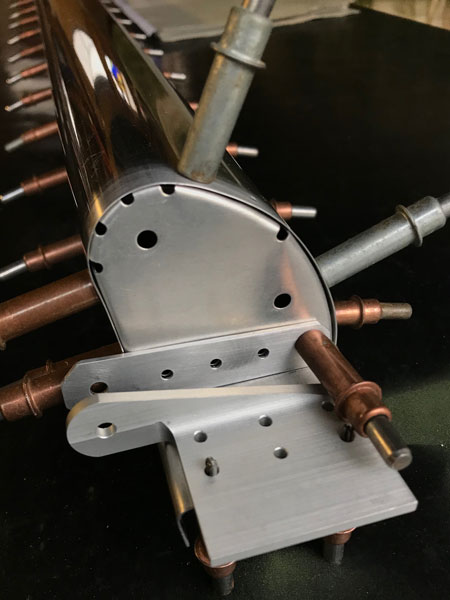
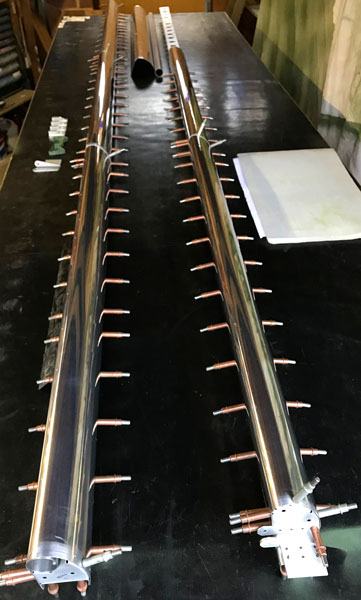
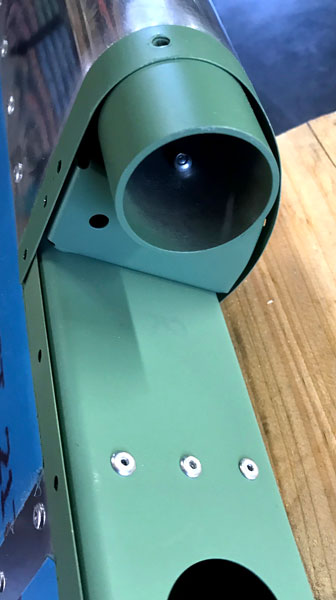
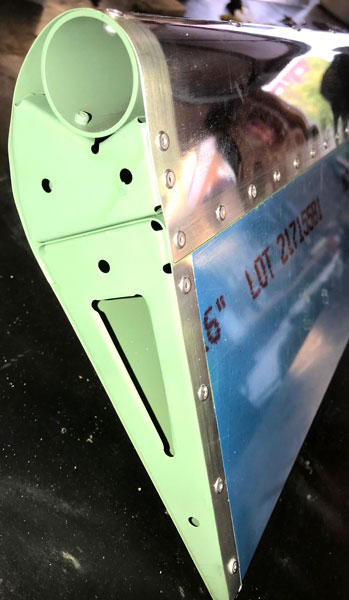
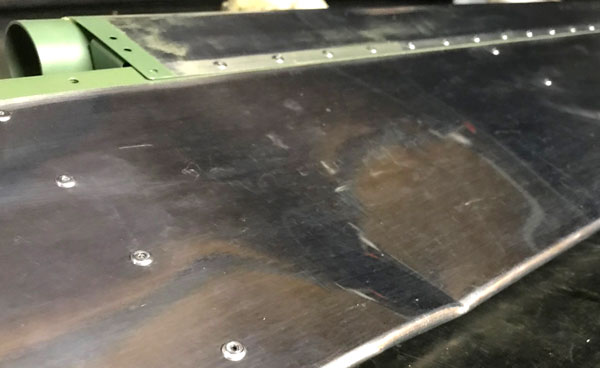
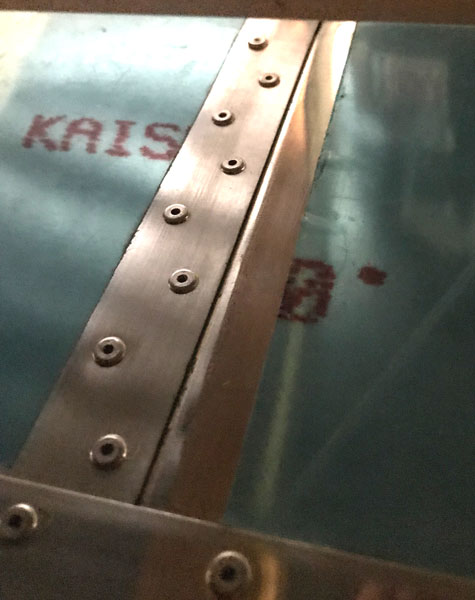
The Flaperons were a bit like larger versions of the amti servo tabs to construct. Buy new drill bits before trying to drill into the steel balance wieght tubes! It is also very important to get the drill bit exactly perpendicular to the tube, otherwise the drill will drift off centre. We eventually made a right angle card drill guide, sticky taped to the end of the tube to sight on. Also, we drilled first with a #40 drill bit (new), and opened out with #30 (also new). Out inspector signed off the flaperon structure on 30th October 2018. Note that because there are dis-similar metals in contact... aluminium skins and ribs with the steel counterbalance tube, we used Duralac Anti-corrosive jointing compound at all the touch points. Once the tubes are riveted to the rib and spar structure, the whole thing becomes very heavy at one end. To help with this we gaffer taped each flaperon structure to the bench while we riveted the skins on. On the last flaperon, at the end of a warm day in the workshop, we got an attack of pressonitis, and did not notice the gaffer tape giving way at the heavy end while we were down the light end setting the last couple of rivets. The drop trom the bench to the concrete floor buckled the skin and end rib beyond repair. We were able to ask on the RV Squadron if anybody was having a major kit shipped, and managed to get a new skin from Vans shipped with a quick build RV7 Fuselage kit, but it was a wait of more than a few weeks untill we could finally complete the flaperons.