Construction of the Vertical Stabiliser (Tailfin).
This is where the build starts in earnest. The Vans Tail Kit is the least expensive part of the whole kit, so we followed the advice that we should start
with it as we should be able to tell pretty quickly if building an aluminium aircraft is something we are going to be able to do, and, more importantly, enjoy
doing. If not, the outlay is minimal. We had already attended the Light Aircraft Associations one day Metalworking course at Turweston. We also agree with
the thought that we should delay purchasing the engine and avionics part of the kit, as improvements and upgrades to these items are likley to take place during
the projected 3 to 3.5 years of the build. (already a good move as Vans have upgraded the engine option from 912ULS to the fuel injected 912is since we received
the tail kit.)
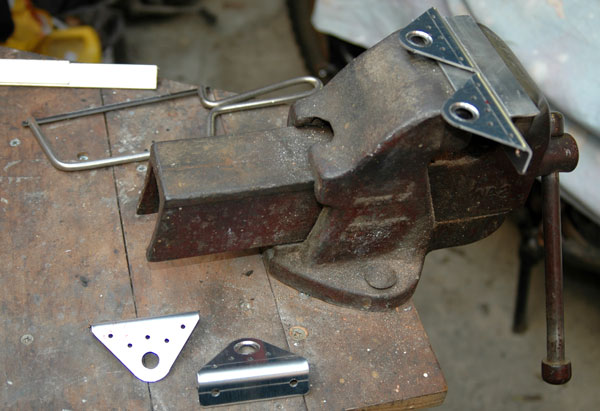
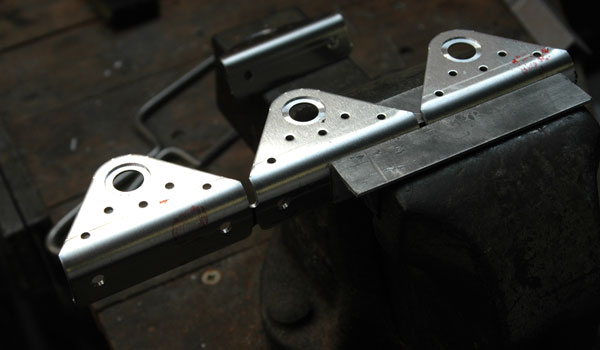
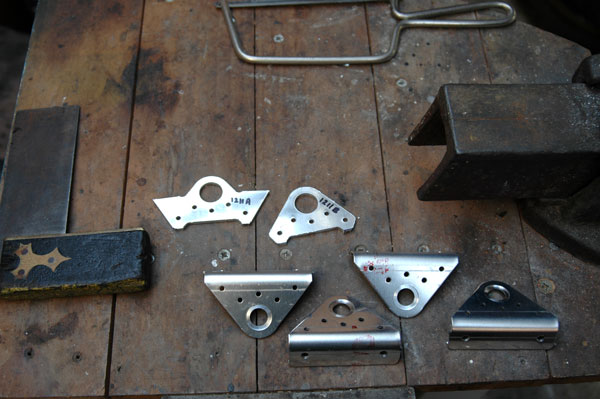
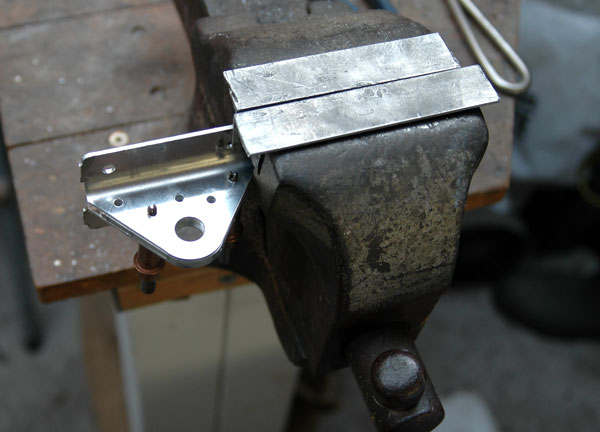
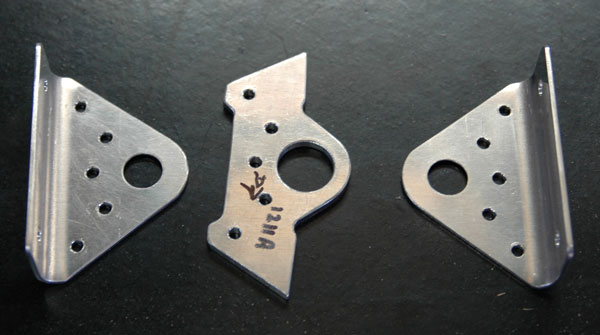
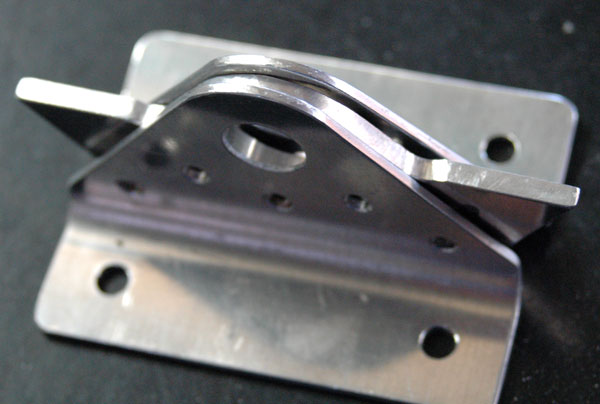
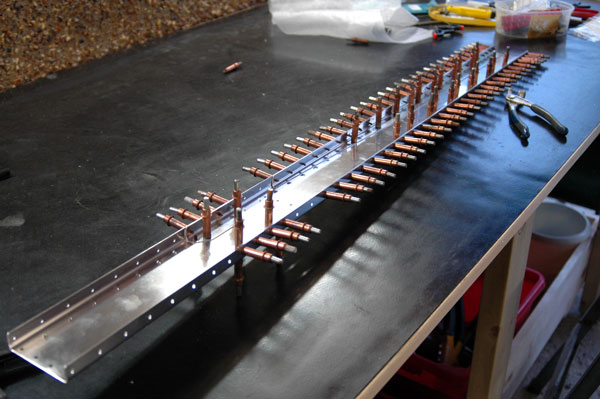
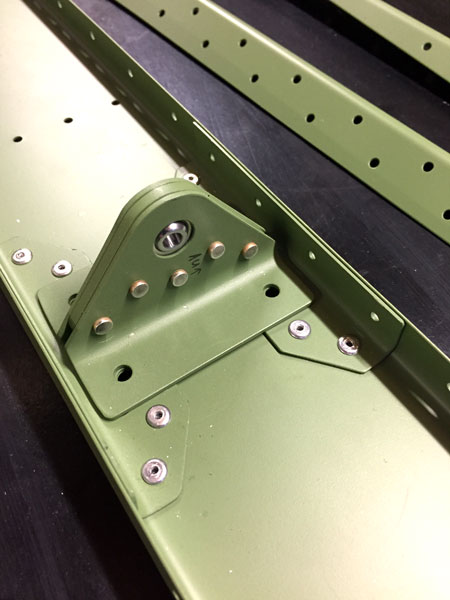
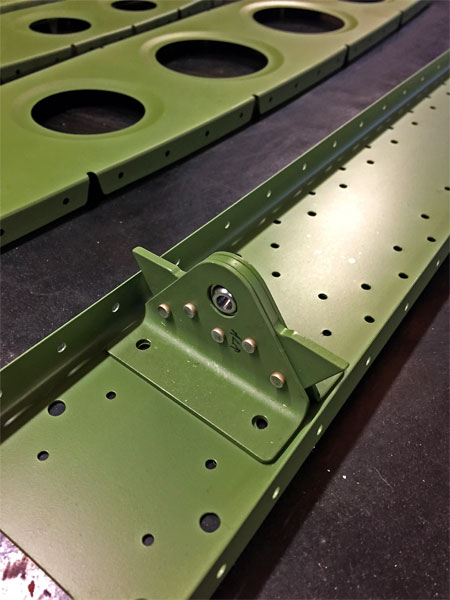
Vertical Stabiliser/Rudder Hinge Brackets. (11 April 2017)
Make sure you buff any scratches or indentations (bolt thread impressions) out of your soft vice jaws first, or you will have to buff marks out of your parts!.
A simple junior hacksaw (new blade) used to make a cut at each end of the material to be removed is faster than making a single central cut and having to file more material
away. Arrange to cleco and hold parts to be match drilled so that the bodies of the clecos do not get in the way of the drill.
When match drilling the Hinge Support Spar Caps, make sure that you use a small block of wood to support the spar cap in addition to clamping the flanges together.
If you rely on the clamps alone, as you press the drill bit into the spar cap, it will flex down, and you will get an elongated hole, which will cause you to throw it
away and make a new one from the bits of "scrap" aluminium supplied by Vans for practising with. (Did we do that? No siree, not us. We are perfect!). You will also get
a very slight elongation of the hole in the spar, which our inspector assures us the rivet will expand to fill with no deleterious effect, providing we rivet that hole
last to ensure the spar cap is correctly located by rivets through all the round holes first.
Our first batch of priming was done with Lechler Technogrip L0000824 in Aircraft Green, which we got
BSB (GB) Ltd to put in rattle cans for us. They said it would be too thick and would not work in the rattle cans,
and they were correct, so we came up with the cunning scheme of putting the cans in a bucket of hot water before spraying, and that worked a treat. Red Scotch-Brite pads were
used to smooth deburred edges and scuff gently (so as not to remove too much of the thin pure aluminium surface on the Alclad) to provide a key for the primer. Scotch-Bright
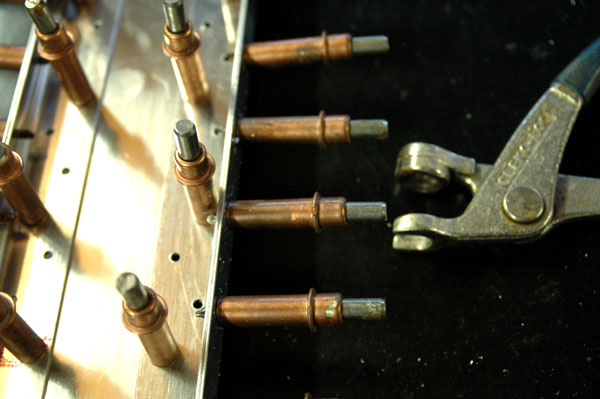
supplier was Spraygunsdirect. The slightly larger rivet was used because we did not hold the machine
countersinking cage precisely vertical when drilling the countersink
and the rivet would not sit level in the hole as a result. Drilling out the rivet several times while we figured out what the cause was resulted in an enlarged hole, hence the next size up rivet.
The rivet we used had to be filed to shorten it first. Now we would use an Oops rivet
from here.
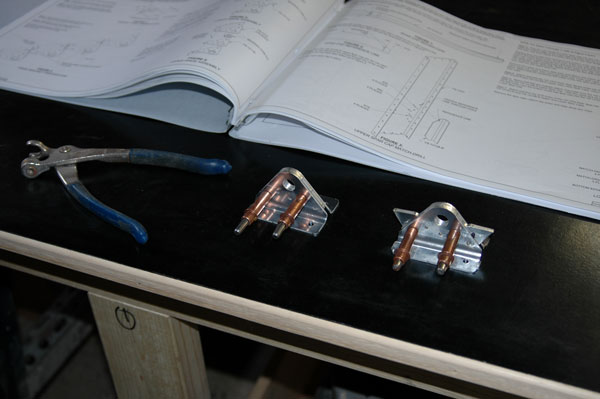
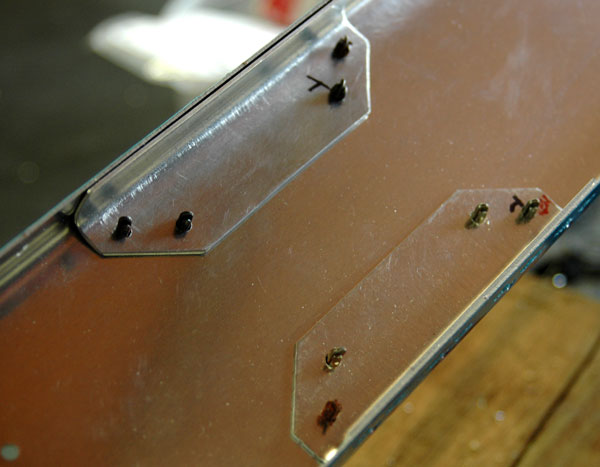
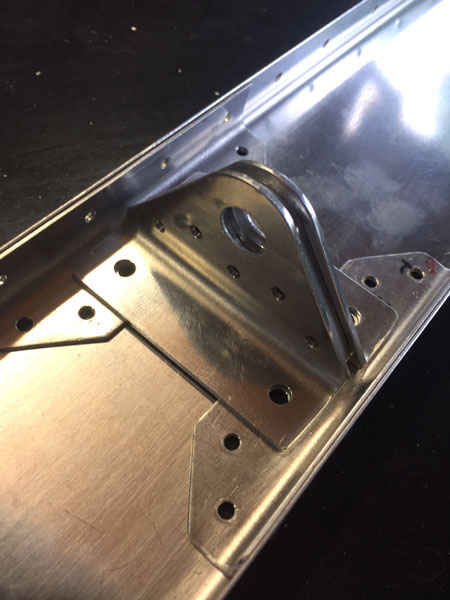
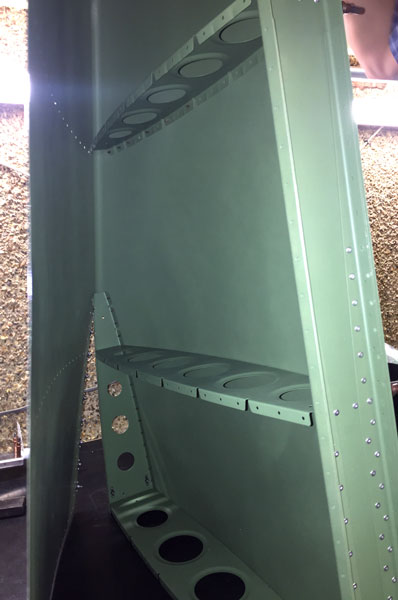
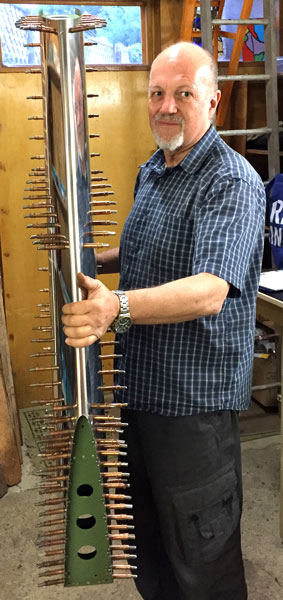
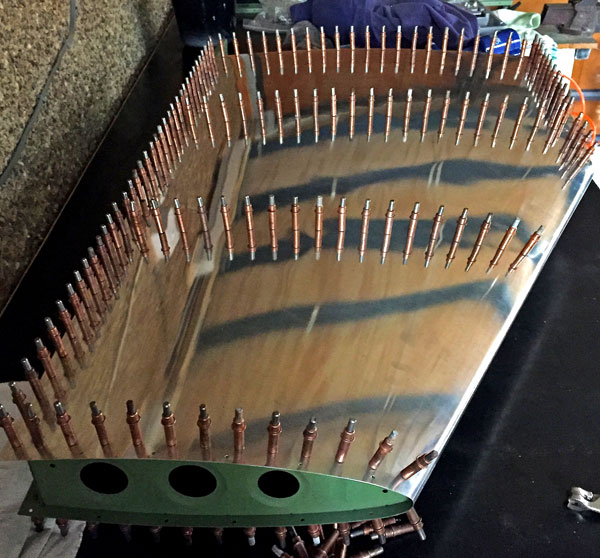
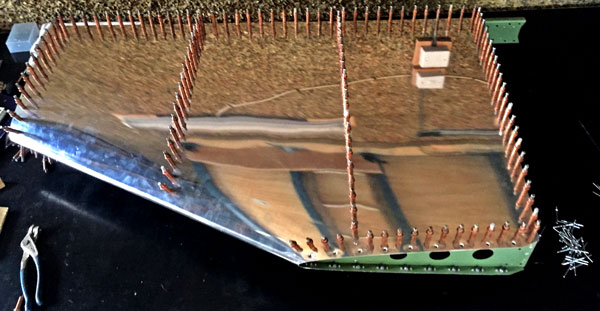
Vertical Stabiliser internal structure inspected and signed off by our LAA inspector 05 June 2017.
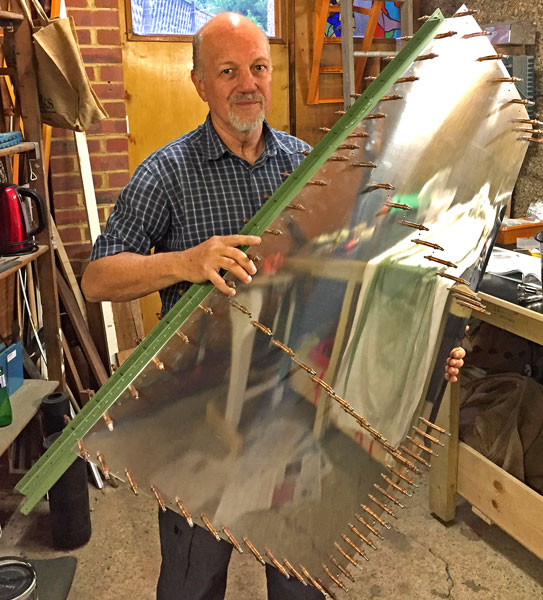
We had to de-cleco the skins and take more material off the nose of the ribs because they were deforming the skins slightly, then re-cleco to check. The rivet holes all lined up well
enough to get clecos in, but when it came to putting the actual rivets in, quite a few needed a bit more persuasion than could be applied with bare fingers. A small piece of 12mm ply with a
hole drilled in it to take the "nail" part of the rivet allowed a little more pressure to be applied, and this was all that was needed for the majority of the tight fitting rivets. If
that was not enough, a pointy stick (sribe) was used to improve alignment. In a very few cases, a number 30 drill bit was placed in the chuck of the air drill, but not connected to the air
line. The chuck was rotated by hand, one revolution all that was required to ease the fit. Be very carefull when inserting a rivet into the small tabs on the ribs that have only one hole
as it is very easy to bend the tab. Make sure you know where these tabs are, so they can be inspected using a torch light, to ensure that the rivet has entered the hole correctly and not
just bent the tab. In the case where the tab has bent, it must be bent back with appropriately dimensioned bits of wood, the holes eased as above, and the rivet re-inserted carefully.
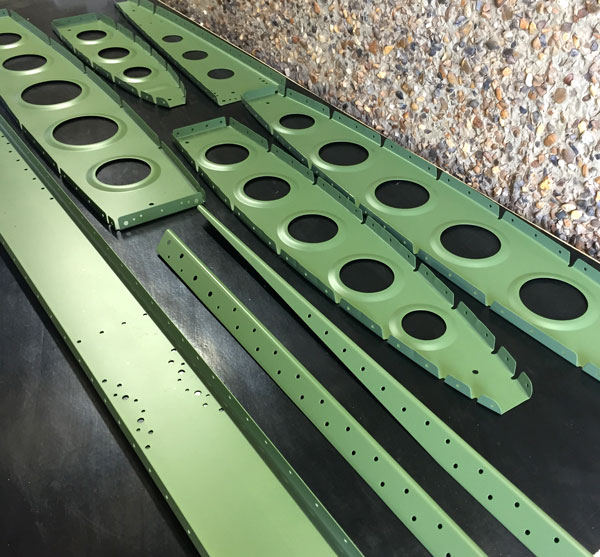
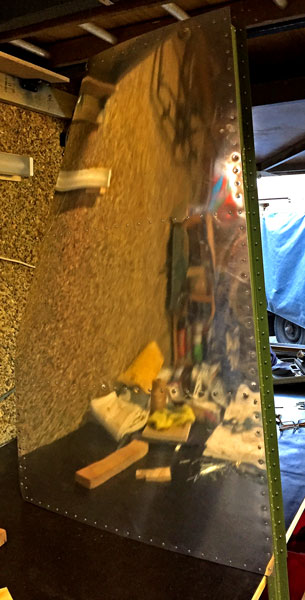
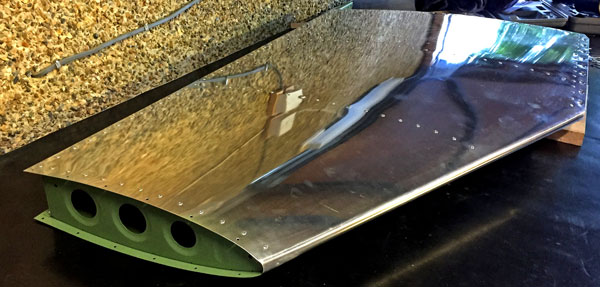
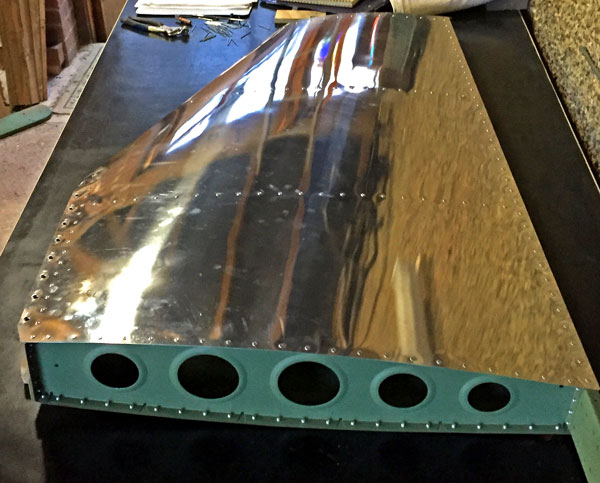
Vertical Stabiliser completed 12 June 2017.
Woodies Aircraft Factory